Here is a brief how-to with photos for the painting and stenciling makeover I did on my staircase.
Supplies:
Hand-held power sander
Yellow paint
Polyurethane for hardwood floors (with light amber tint)
Stencils (I used these).
White paint for stencils
Sponge brush (for stencils and for applying polyurethane)
My stairs had been carpeted by the last owner of the house, so they were in really rough shape when the carpet was removed. I sanded the tops and the backs several times. It took about ten or so rounds with the sander before I got them how I wanted them. After that, I just buffed them with a dry cloth and vacuumed the dust.
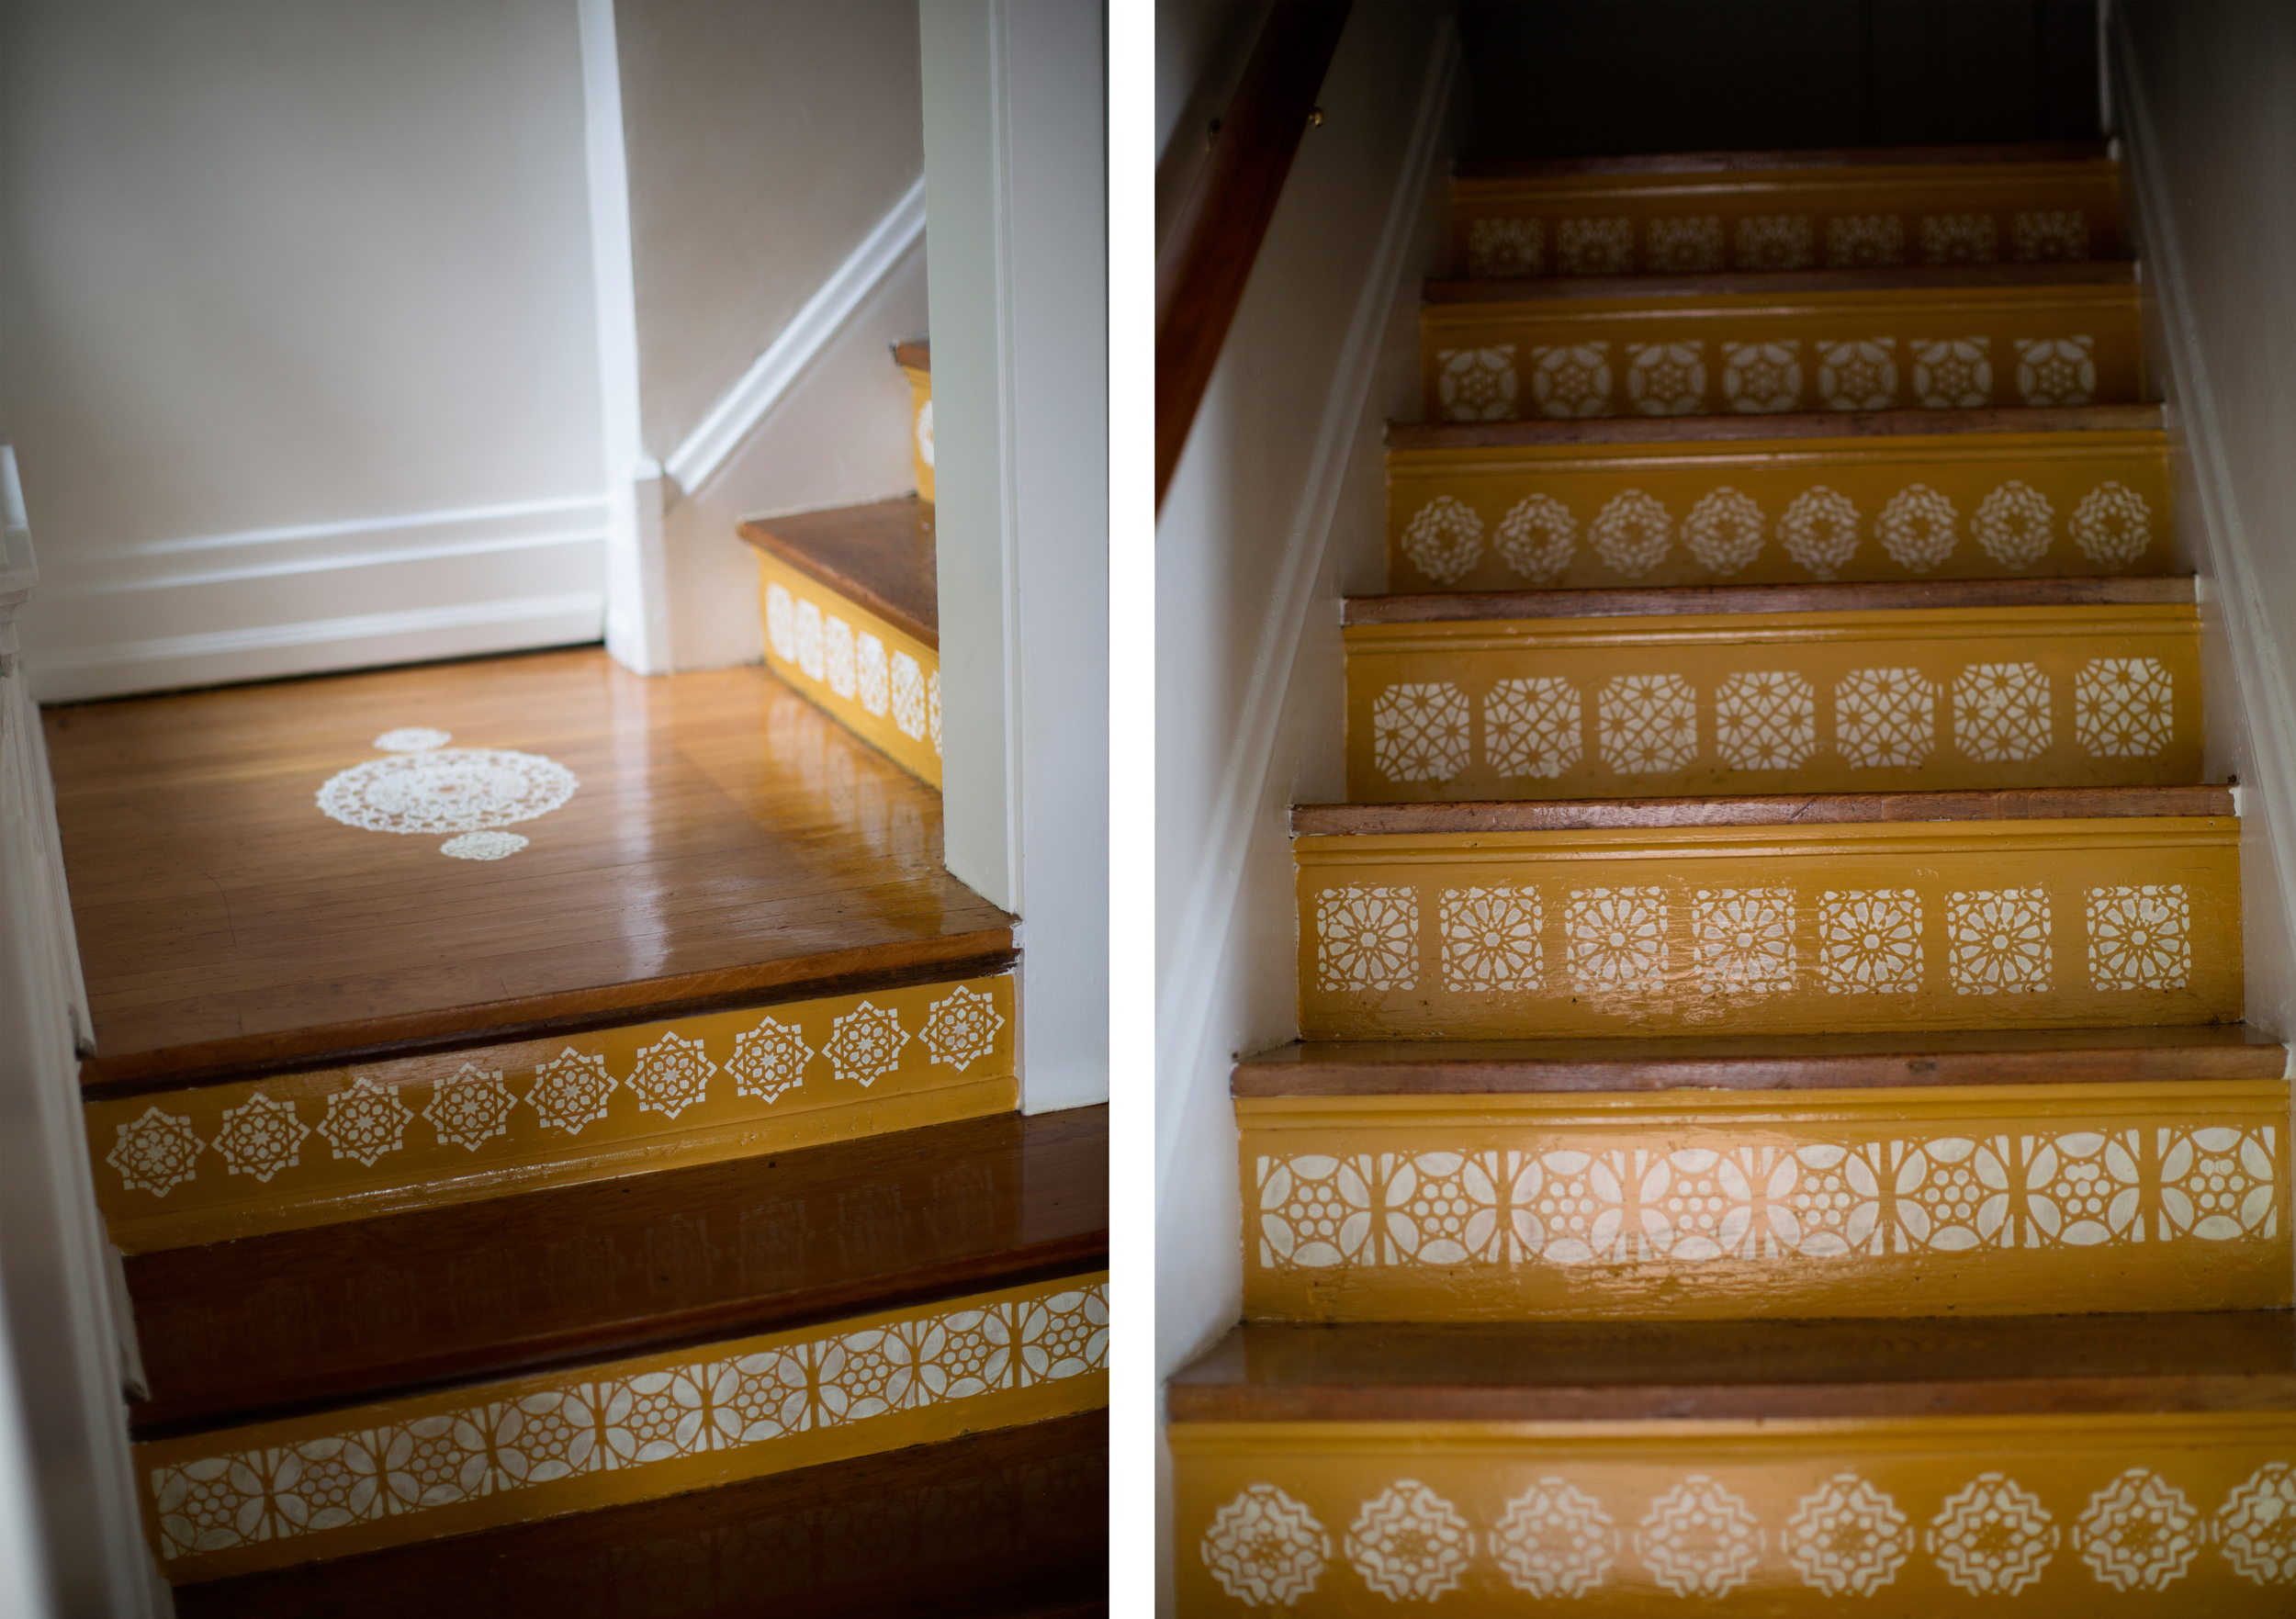
I started by painting the backs of the stairs with the yellow paint. This took about three coats, with several hours of drying time between them.
I decided to do the same design in a row on each step, alternating designs by step. I simply cut the stencil out, applied it gently to the step with tape and used the white paint with a sponge brush to stipple the paint over the stencil. When I was finished, I let it dry for about 6 hours.
I then applied a thin layer of polyurethane over the top of the stair backs to kind of seal in the stencil and to give it a nice shine. I let that dry for about four hours and then applied a second layer.
The stairs took much longer to dry as I didn’t want to use them until they were fully sealed. I applied a thin coat of poly to each step and left them alone for about 9 hours. You will need a fan (or more!) and to have any windows open while you do this. I’d also suggest leaving the house for a while if you can; the fumes are very strong and gave me a bit of a headache and dizziness.
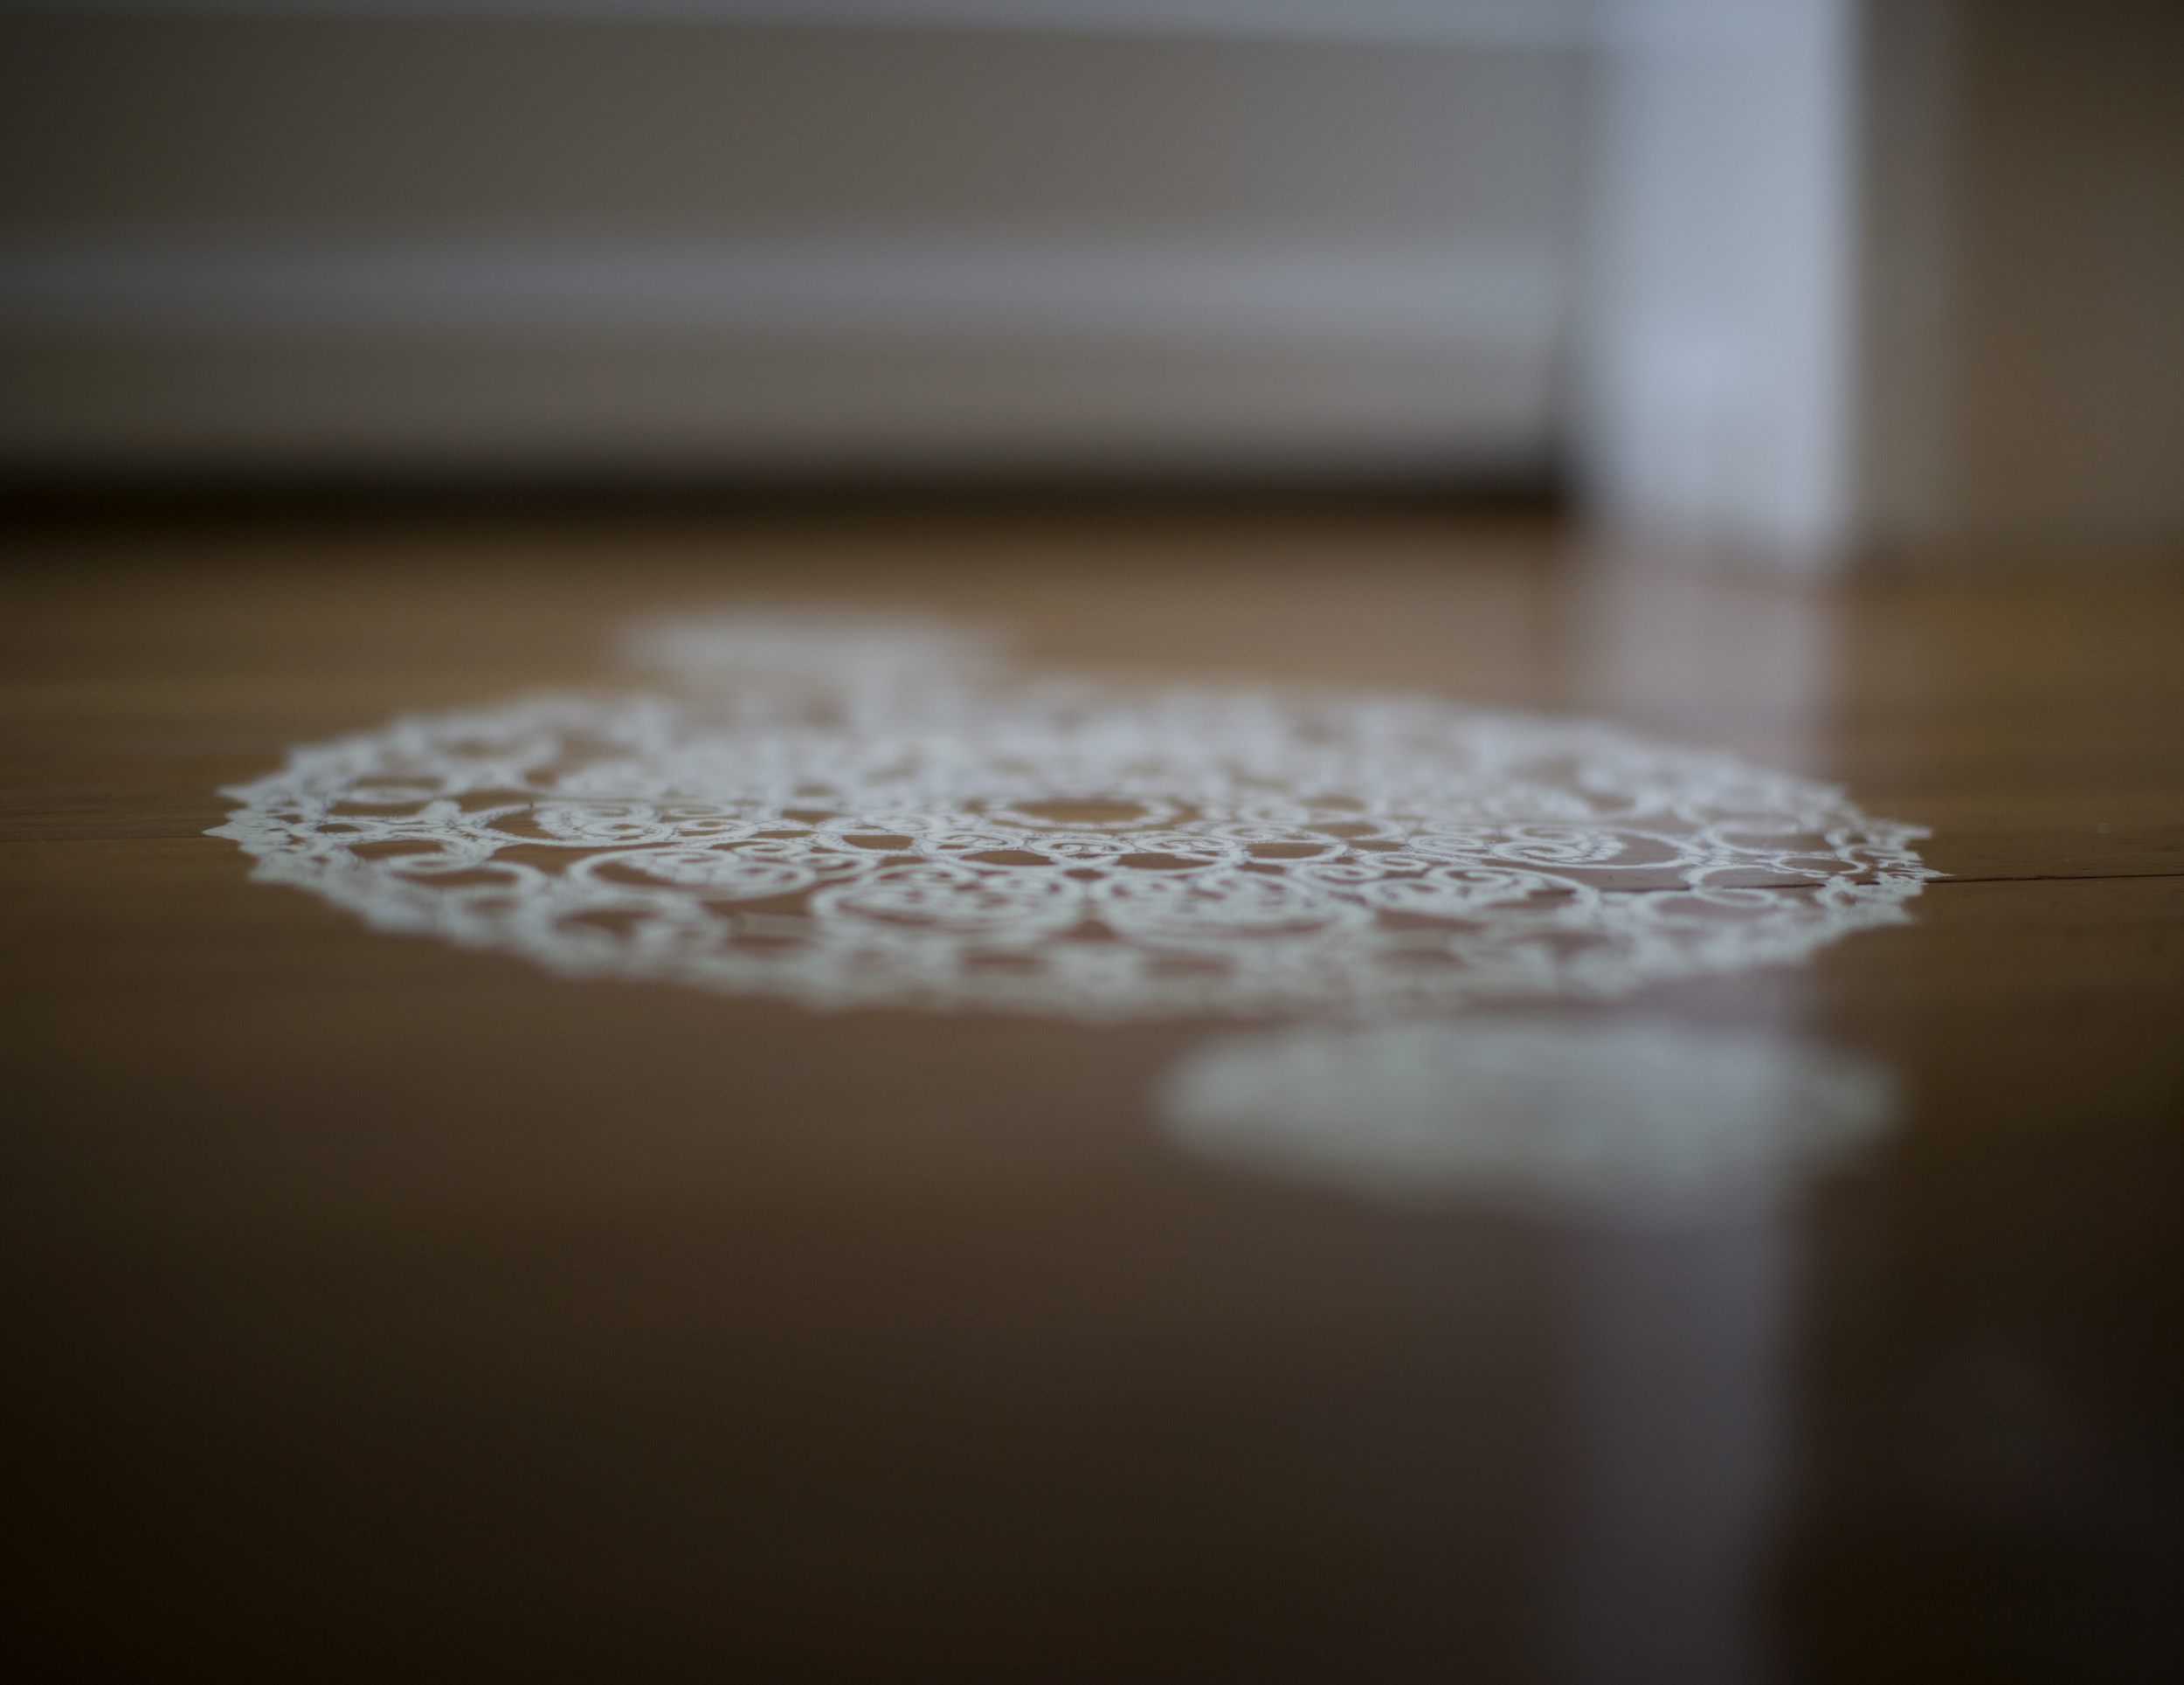
For a finishing touch, I applied one large round stencil (I don’t remember the name of this one, but it’s a Martha Stewart brand and I got it at Michael’s) with two smaller ones on either side on the landing of the stairs, and the same design on the staircase ledge (it’s a perfect spot to put knick knacks, books, etc but I can’t because my cats – or kid – always knock them over, so I thought this was a good way to permanently dress up this area).
I am so pleased with the result! They are not perfect, but I didn’t really want them to be. I wanted them to have an old world, imperfect charm about them, and they do.

 all photos © jennifer summer | 2015